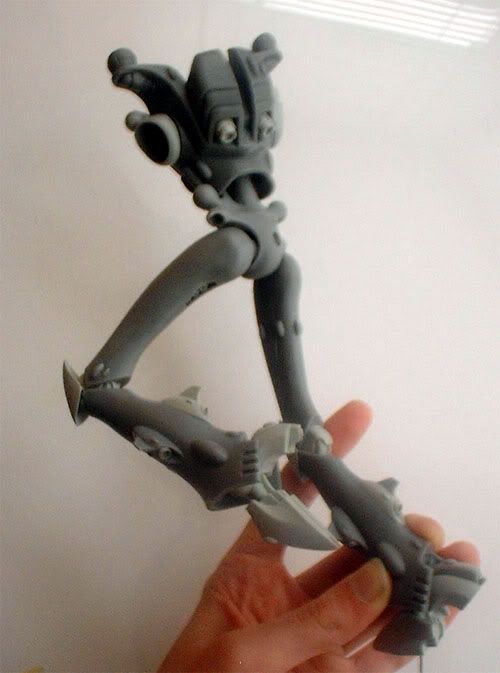
As promised, below you'll find a ton of pictures of the torso and legs finally put together. You can catch up with Parts 1 - 5 of the build process by using the
Tutorial Page. The two parts were joined using a single pin and a lot of glue. The pin was run vertically through the hip section and waist section of the model. It was drilled and glued into the hip section first and then used to mark the place to drill on the waist section. Again I scored the hip ball and socket heavily with a blade in the hope of giving the glue something extra to hold on to.
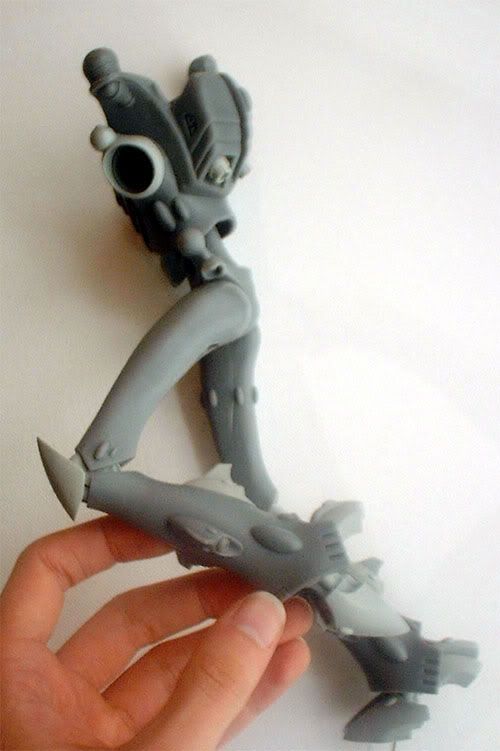
The third image above really shows the degree of angle the Revenant Titan is getting... and I suppose the hand gives a sense of scale too... though I have some of those shots to show later anyway. Meanwhile the images below show the extent of forward pitch. I will be back next time with more build details. In the mean time, hopefully you'll be satisfied with these pictures (which do not at all do the thing justice).


Looking good!!
ReplyDeleteWhy thank you! It's still looking a bit bare in those images, but next time you'll see things really fleshing out. Stay tuned!
ReplyDeleteNICE! Been looking forward to seeing it come together, it's got a great sense of motion to it. Go man, go!
ReplyDeleteThe lean on it really helps provide an idea of agility. I'll be posting the next section ahead of time too... as it shows how even the smaller details can be used to help emphasise mobility!
ReplyDelete