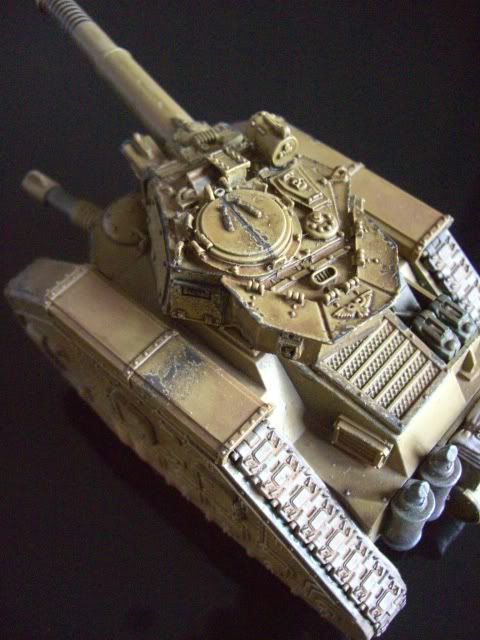
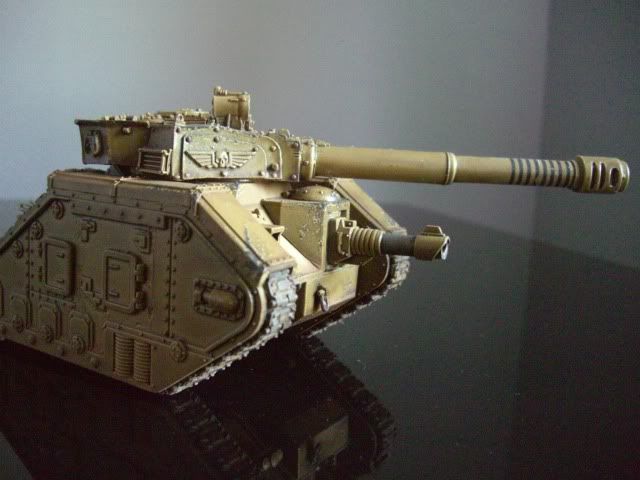
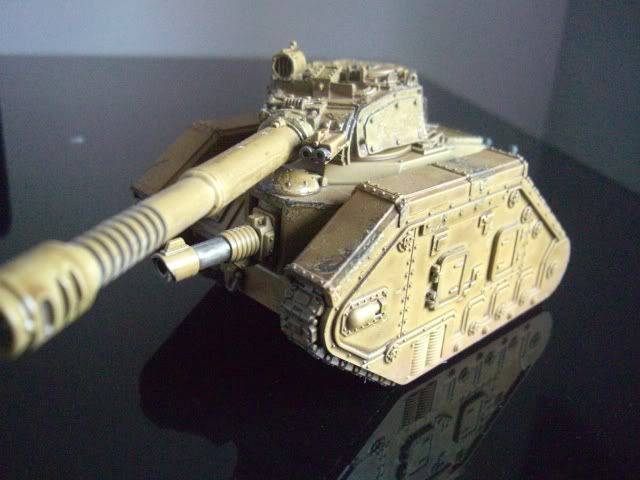
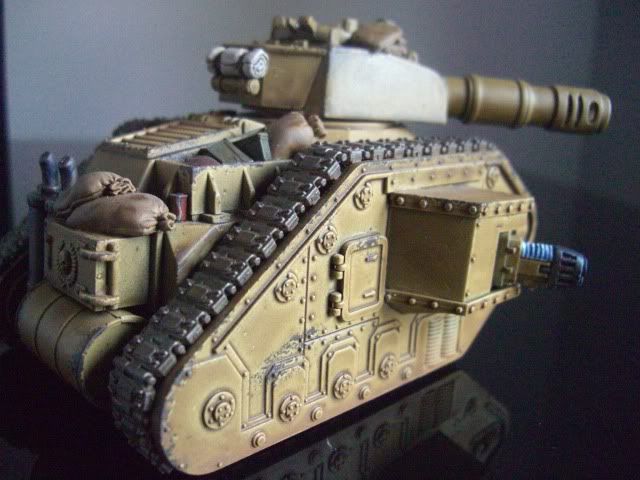
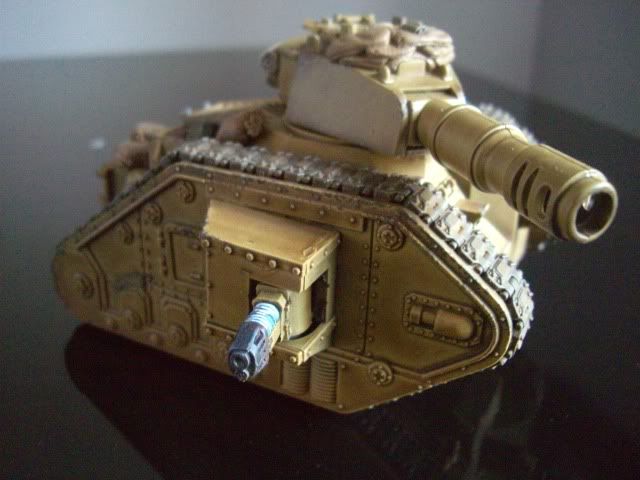
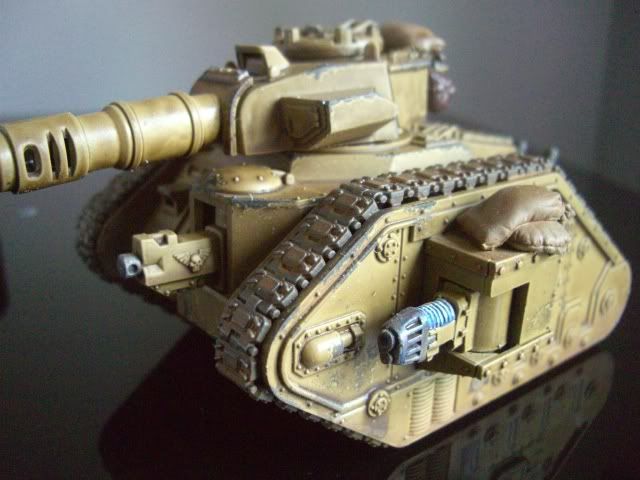
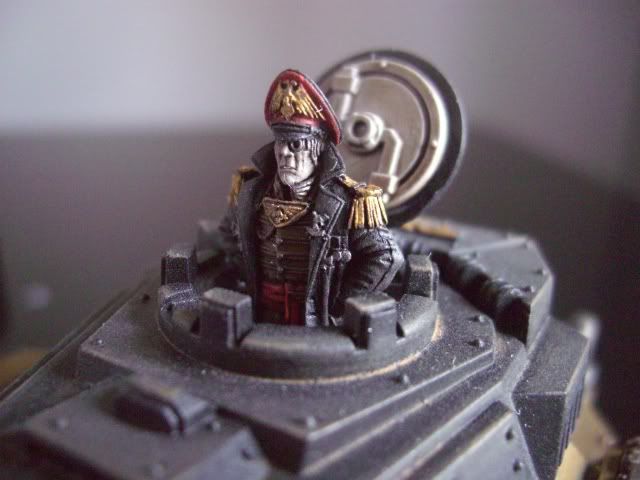
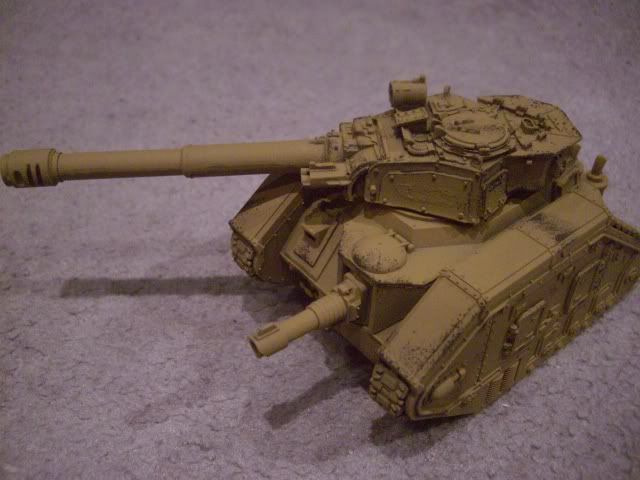
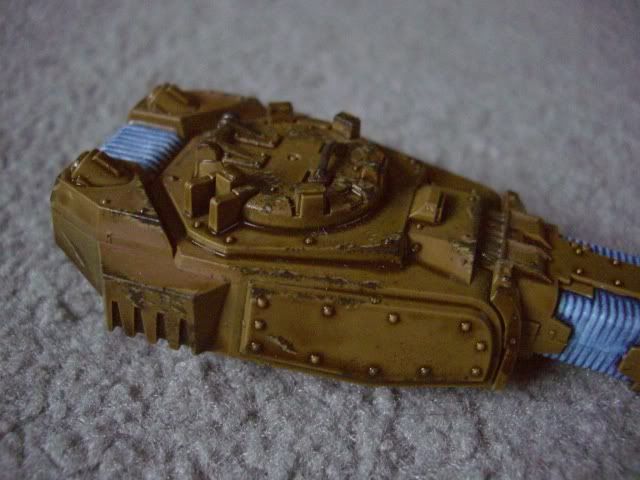
As usual, I'm making what appears to be slow progress, but my defence is that I am working on about 7 tanks at once! The other night, I started on the turret of the Commissars' tank. Who'd have thought that painting black would be so difficult, but I was eager to stop this looking like something out of Tron. I spent a long time looking around for different
ways to paint black. Most tips centre on
using greys to highlight, though I also found lots of ideas about using
different colours to provide highlights to black surfaces and generally speaking the colour chosen can have a profound effect on the result!
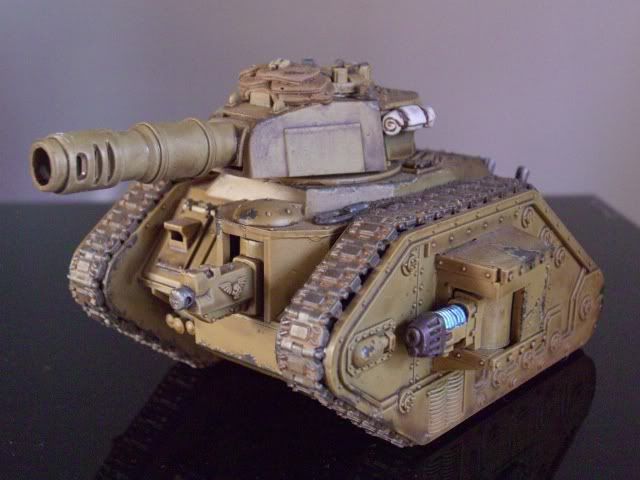
I needed something that would fit well with the desert colour scheme of my Tallarn, so I was finally convinced to try highlighting within the brown spectrum thanks to some chaps over at 40KOnline. To keep things simple I used only three colours;
Chaos Black;
Charadon Granite;
and Graveyard Earth.
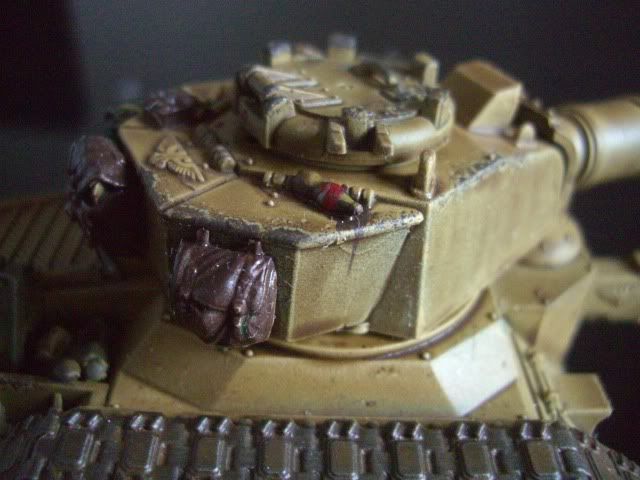
Mixing them in lighter quantities with each step, and helping to blend the lot together using a mix of opacity control and Badab Black washes. The highlights were concentrated on the top surfaces and top portion of the vertical surfaces, to give the idea of the source fo the light. It's actually quite difficult to make out in teh pictures because it mostly just looks like black.
I suppose that means I should be quite quite happy with the progress so far, though can see that there is certainly improvement to be made. I plan to continue the highlight a little further, as I have not yet reached neat Graveyard Earth which can be used as a final extreme edge highlight. Of course, there are also transfers and the like to help decorate the turret, these will also help disguise the less than perfect transition in colour along the turret sides.
Still, who'd have thought that painting black was so hard!