

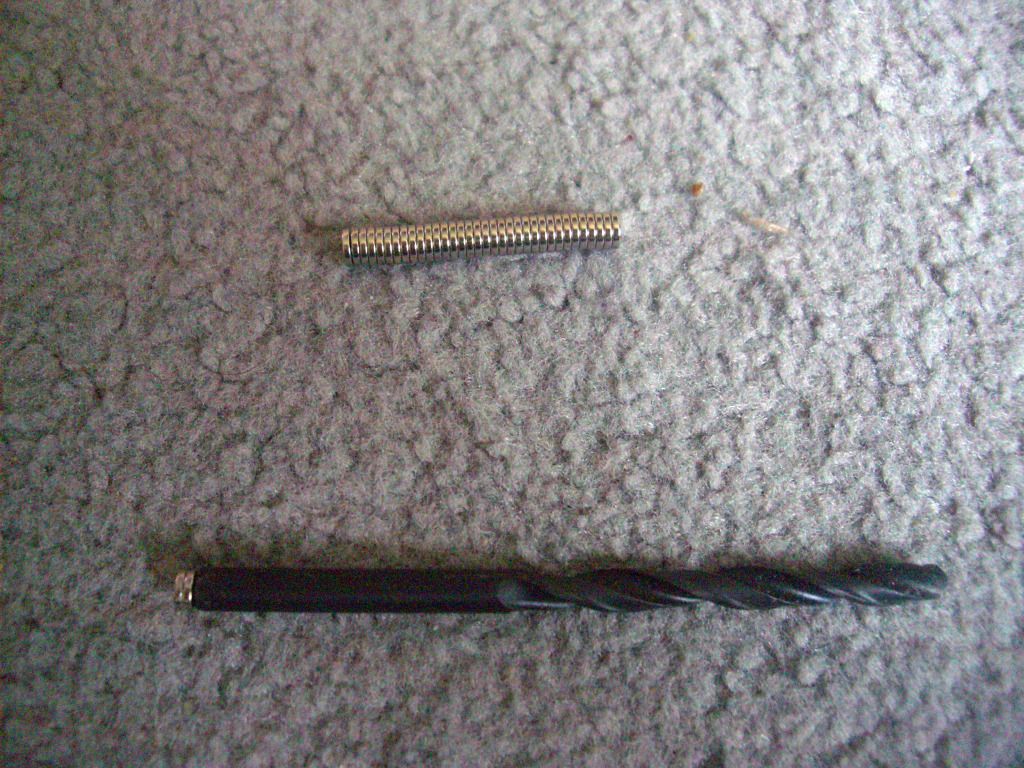
Magnetising is actually a pretty simple process, and at it's most basic you only really need a few items. The magnets, and an appropriately sized drill bit. I've used 3mm magnets for regular 40k things (such as a Vendetta conversion) but given the size & bulk of Krull I bought some 6mm ones. (Also, they brought a Flames of War order up to free postage level and helped me get the third edition rulebook for free!) When they arrived it turned out they were closer to 5mm, so I pulled out the necessary bit from my DiY cupboard.
Magnetising flat surfaces is probably the easiest. Simply drill the hole. Don't go deeper than the depth of your magnet. Remember that the drill bit comes to a point, so the hole will look deeper than it is. Then, fill the hole with glue and slide the magnet into place.
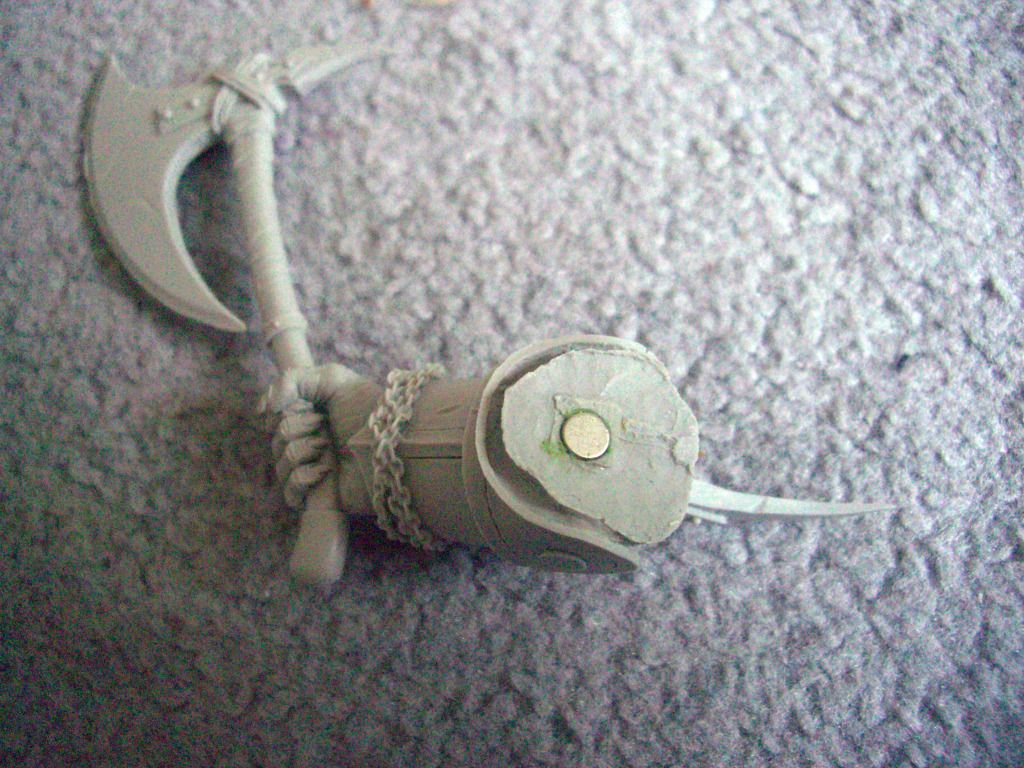
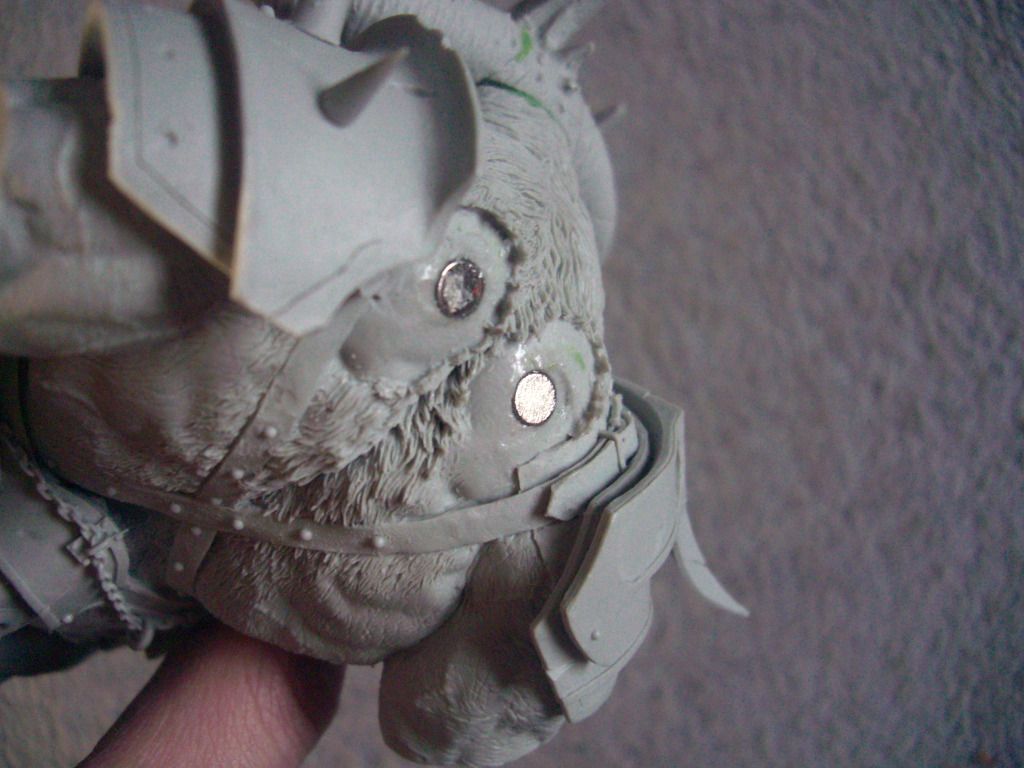
The principle is exactly the same for the second magnet on the adjoining part. The difficult part, is making sure that the two magnets will line up as perfectly as possible. You magnetise because you want to play with the kit and transport it easily... but it will look awful if the visible sections of the model are mis-aligned... and you won't be able to hide any joins with modelling putty! However, you can still use that putty to help you create a guide so that your magnets WILL line up.
Place a small amount of putty onto the side that needs drilling. Wet the side with the magnet (to stop it sticking) and then marry the two up. Because the putty is soft you can move the parts to ensure that they line up externally. Separate the parts and you will then be able to use the marking as a guide. Later, you can remove the putty, or, depending on the pieces, you may keep it in place to help provide a flusher fit between parts.
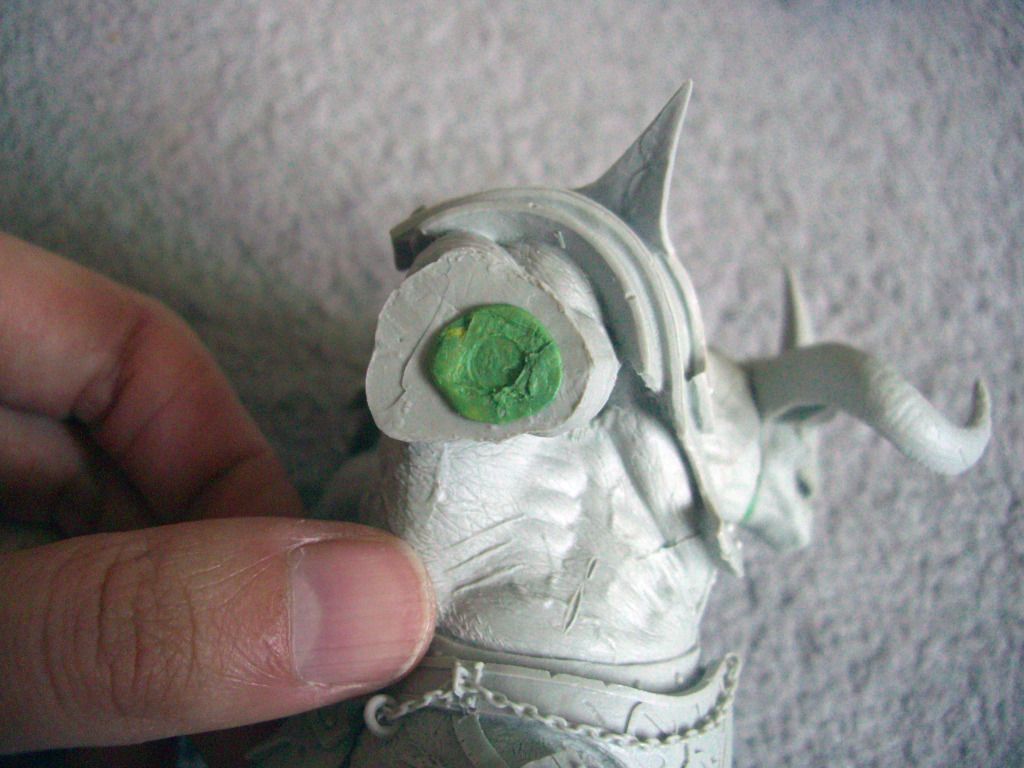
I done exactly the same with the wings;

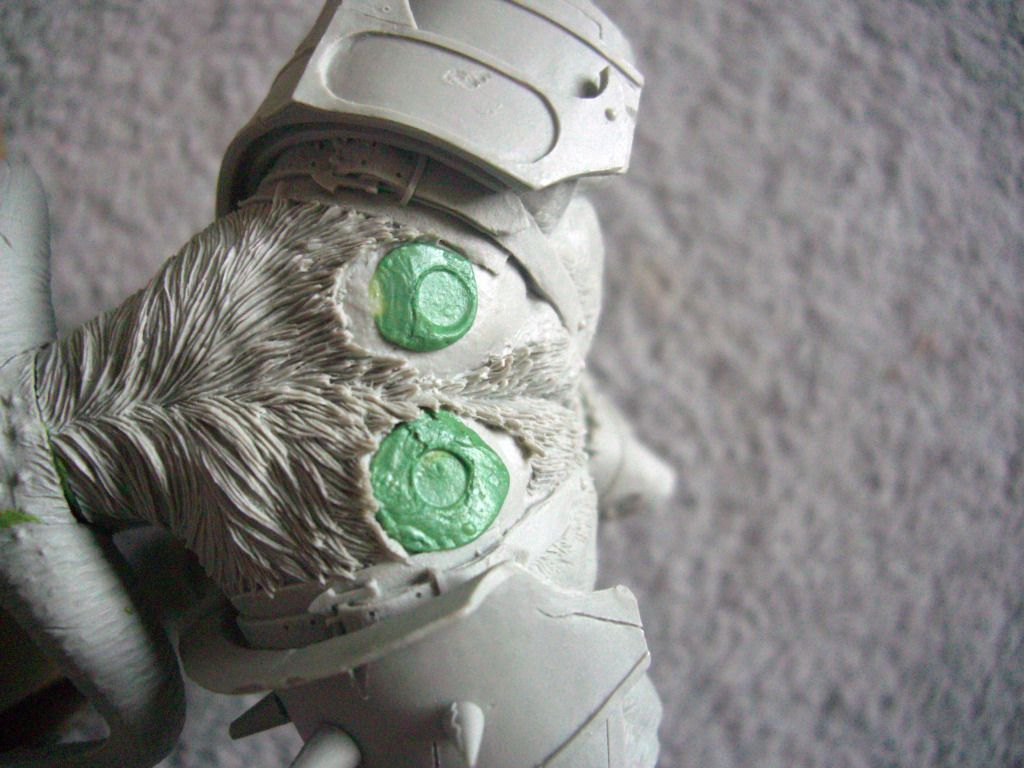
Simple! ... Well... yes, and no. It turned out that the larger magnets, whilst great for holding the weight of the beefy arms, were not quite strong enough to fight against gravity when it came to those massive, highly detailed wings!! Come back next time to see what I've done to try and improve the situation... and one way you can overcome another issue that comes with magnetising...

That's a fairly clever way to make sure the magnets line up! I'm sort of kicking myself for not having thought of it myself. Look forward to seeing how you solve that gravity issue.
ReplyDeleteKrisken of Scratchbuilt 40k
I like it! The putty alignment method is nice and I will certainly give it a try soon. In the past I have used a drop of paint on the magnet which then transfers to the other piece when I go to line everything up.
ReplyDeleteKeep up the great work!
David
The paint trick is usually sufficient for when you are pinning models, any minor gaps or mis-alignment can always be filed or green stuffed anyway. This isn't really an option when magnetising.
ReplyDeleteThe benefit of using putty over paint for marking is that you can shift the position of the model with putty and get the final position right. If you do this with paint then you simply end up with a bigger splodge and as such it may not give you the right sort of accuracy.
Very cool, Oink! The putty-line-up method is pretty slick, going to have to give that a go. Liking how it's coming along, definitely looking forward to seeing more - Keep up the great work!
ReplyDeleteI noticed that your magnets are kindda small... so here is another tip; PIN the extremities! Same as regular pinning when you glue, but with magnets. Not only helps you align the extremity, but it gives some 'anti-gravity' support. Great work... keep at it. THANKS for sharing!
ReplyDeleteMordheimer - www.DeathSquadsGame.com