In my last post I talked a bit about the product "Instant Mold". This post will cover some of the results of that initial investigation. With the pattern (aka mould) already made I grabbed and mixed some green stuff, I'm sure you could use any modelling putty.
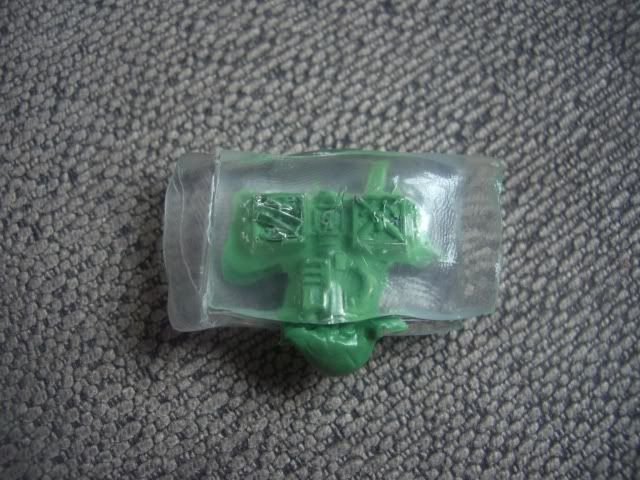
It is a simple case of filling the pattern and, because this was a two part mould, pushing the two parts together. There is a great benefit to the "Instant Mold" being clear now, because you can see where the green stuff has, or has not filled the detail. In the images above you can see that a solid green colour indicates full detail, whilst clear air bubbles help point to places that either need more pressure or more greenstuff!
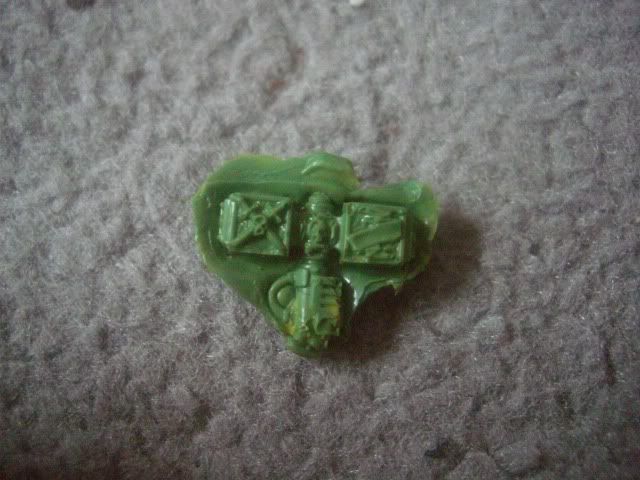
I then left the house for the day, and on my return pulled apart the two part pattern to reveal the new green stuff cast. Although the green stuff was "sticky" it did not actually STICK to the "Instant Mold", but it was clear that the putty was not properly cured. This is probably partly to do with the fact that it doesn't get air to help it along, but also just due to the sheer bulk of the component (I'mmuch more used to working with smaller quantities for fine details.
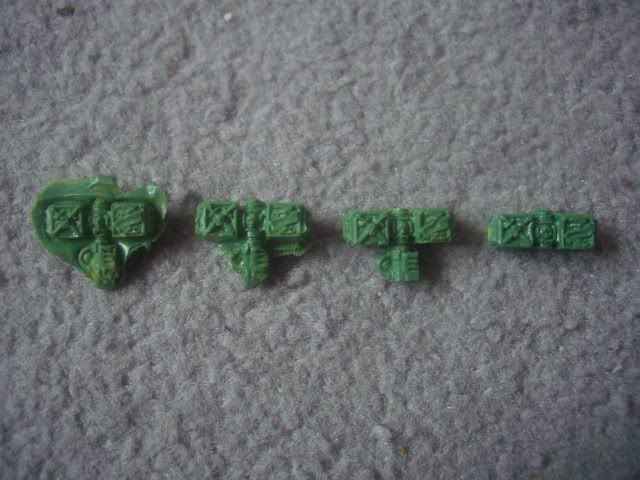
Here is the end result of my first test. As you can see, it needs a lot of cleaning up and there are some holes that will need filling too. But whilst that was going on I threw another batch of green stuff into the pattern to cure.
At first glance the results look great. But there are limitations,
particularly on a part like this hammer head. The most troublesome thing
I found in my initial casts was that despite bending the "Instant Mold"
to help me line up the halves more easily, they just did not always
meet properly... this resulted in hammer heads which were wider at the
top than they should have been, as well as a double-moulded shaft head. I
had to bin more than I could save!
Still, undeterred I set about trying a different component.
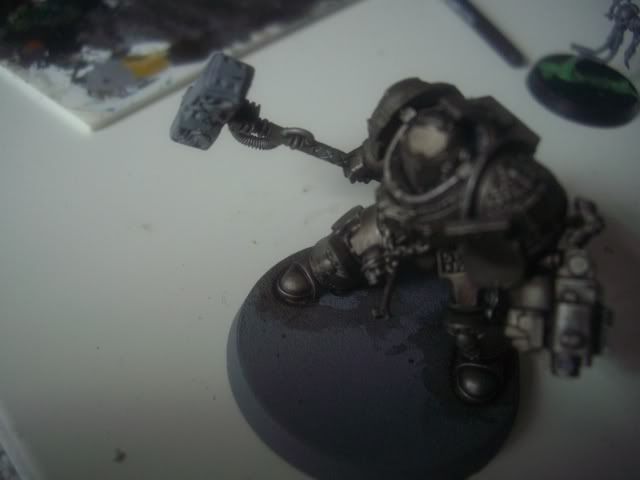
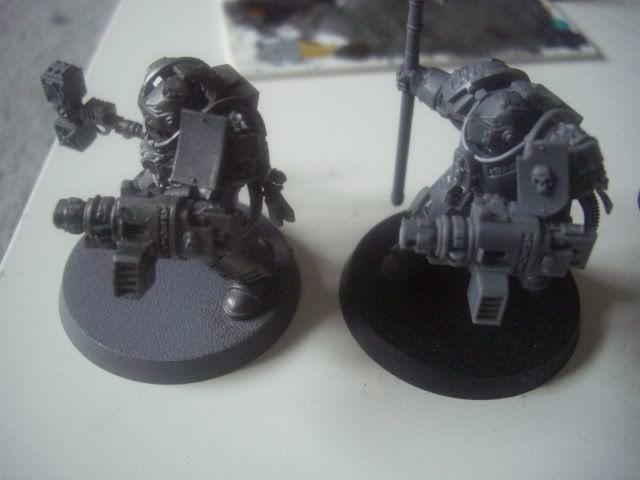
I was surprised to find that the Grey Knight Psycannons came out MUCH better! I was able to make two extra Psycannons out of Green Stuff which were pretty good matches and importantly, meant that I didn't have to head to a bits supplier who would have charged me well over the odds for them! Again, there was a slight issue with some fine detail but for the most part they look the part quite convincingly.
In summary, I think there is a great dealof mileage for using "Instant Mold" to create additional components. My initial experiments showed that it is a bit trickier than you might first think, but this is probably because I jumped in at the deep end to create a 2-part pattern. A simple press mould would be much easier but has limits on what can be created. Of course, there is always the option to create two (or more) separate press moulds and then glue the separate components together!
However, if this has taught me one thing... (other than I needed to buy more fresh green stuff) it is that you don't have to be limited by what you have...


I've had better success with 2 part resin than I have with green stuff.
ReplyDeleteDo you mean, two part resin in Instant Mold patterns? I think the only limitation for material is that it mustn't generate heat whilst curing... or that will melt the mould.
DeleteVery cool stuff, Oink! Buddy of mine has been using it for his Blood Angels and I'm rather impressed with the results. The two-part mold you've done is pretty slick. I really need to give that stuff a try!
ReplyDeleteGreat article!
Yeah, you should probably bear in mind that these were my first ever attempts at getting to grips with the stuff... I can see it has some definate mileage. I just grabbed myself 36" of green stuff off an e-bay shop for only £8!
ReplyDeleteThis is a BRILLIANT pair of posts (sandwiched in two parts too - nice parity!). I do have two questions though:
ReplyDelete1) Did you add any grease or lube to help extract the greenstuff from the mo(u)lds?
and
2) What do you reckon is the lifespan for these? Will you be able to churn out a few duplicates? dozens? hundreds? - Just out of interest that is - I'm not planning to set up shop!
Thanks again,
- Drax.
Two very good questions:
Delete1. Add nothing to the "Instant Mold". You just need to make sure that you leave the component long enough to dry fully. The Instant Mold has some flex in it so you can push a part out quite easily. There is no need, nothing seems to stick to the stuff. I wager I'd be able to use super glue to make something if I ever had the impulse to!? As far as I can tell, the only thing that sticks to Instant Mold, is more Instant Mold, and ONLY when it has been heated up... when you can literally knead it into itself.
2. The lifespan of each pattern will probably depend on the intricacy of the component. Very fine detail might not last too many copies whilst simple duplicates could last you far longer. As I mentioned, there is some flexibility in the Instant Mold, and ultimately this will dictate how long detail lasts. However, the answer to the question is ctually, infinity. Here's something really neat: Once a pattern has lived it's life, you can simply chuck the Instant Mold back into hot water and it can be re-used! So you can use it to re-make the original pattern from a master, or use it to mould something new!
RBSE Syllabus 2021 : Rajasthan Board recently released RBSE Revised New Syllabus 2020-21 of class 9th to 12th exam to be held in 2021. Due to the COVID-19 epidemic, the syllabus has been reduced due to late opening of school and non-completion of course in a short time. BSER 11th Book pdf RBSE Class 9th 10th 11th 12th New Syllabus 2020-21 released by the board can be downloaded pdf format from rajeduboard.For the convenience of the students, we have given a direct link to download RBSE New Syllabus 2020-21 PDF in Hindi here. You can download Rajasthan Board Revised New Syllabus 2020.
ReplyDelete