Don't panic! I'm not dead! I have been utterly busy with another project to build and paint a 1750pt Imperial Guard army... I still have a lot to do with it but thus far I have avoided posting about it here because I would probably rather keep this project theme intact.
In the mean time however, I haven't been sitting idly and have been keeping a keen eye out for all sorts of inspiration. Not every gaming club has the good fortune to have a collection of awesome looking terrain. But at the Bristol Vanguard Gaming Club they have just that. In fact, not only do they have some awesome looking terrain pieces, but they have combined them into very inspirational gaming boards! Looking at the images below, and on their site I am sure that you can agree they have created some very nice themed terrain and boards, though that in itself is probably the subject of another post!
I am reliably informed by an avid member of the club that they are lucky enough to have a pair of budding terrain experts that tirelessly scratch build and paint all of their terrain pieces. Using all manner of DIY sources and structures, augmented by a range of Games Workshop bits and pieces at least in part donated by other club members they go about their dungeon workshop to produce some of the best looking tables I have seen. Perhaps it's not just the fact that they can produce shuch nice looking terrain pieces, but that they can do this continually, and create very nice themed environments.
Whats more is that they are proud to present them on their website, and can be found here. This site will of course be making its way onto my "Inspiration" page where it belongs. And I hope to at least try to recreate some of the great features that you can see, such as the barrack style buildings!
You can also check out more detailed and awesome slideshow of their boards in action at their 2011 "Longest Day" Tournament! Definately worth a look, and I will be making a note of it for next year for sure!
Of course, the scratch building portion of my terrain building won't really kick in until after I have exhausted the majority of the kit work that I have... unless I just can't wait any longer!
Tuesday, 28 June 2011
Saturday, 18 June 2011
Research - Gothic Architecture
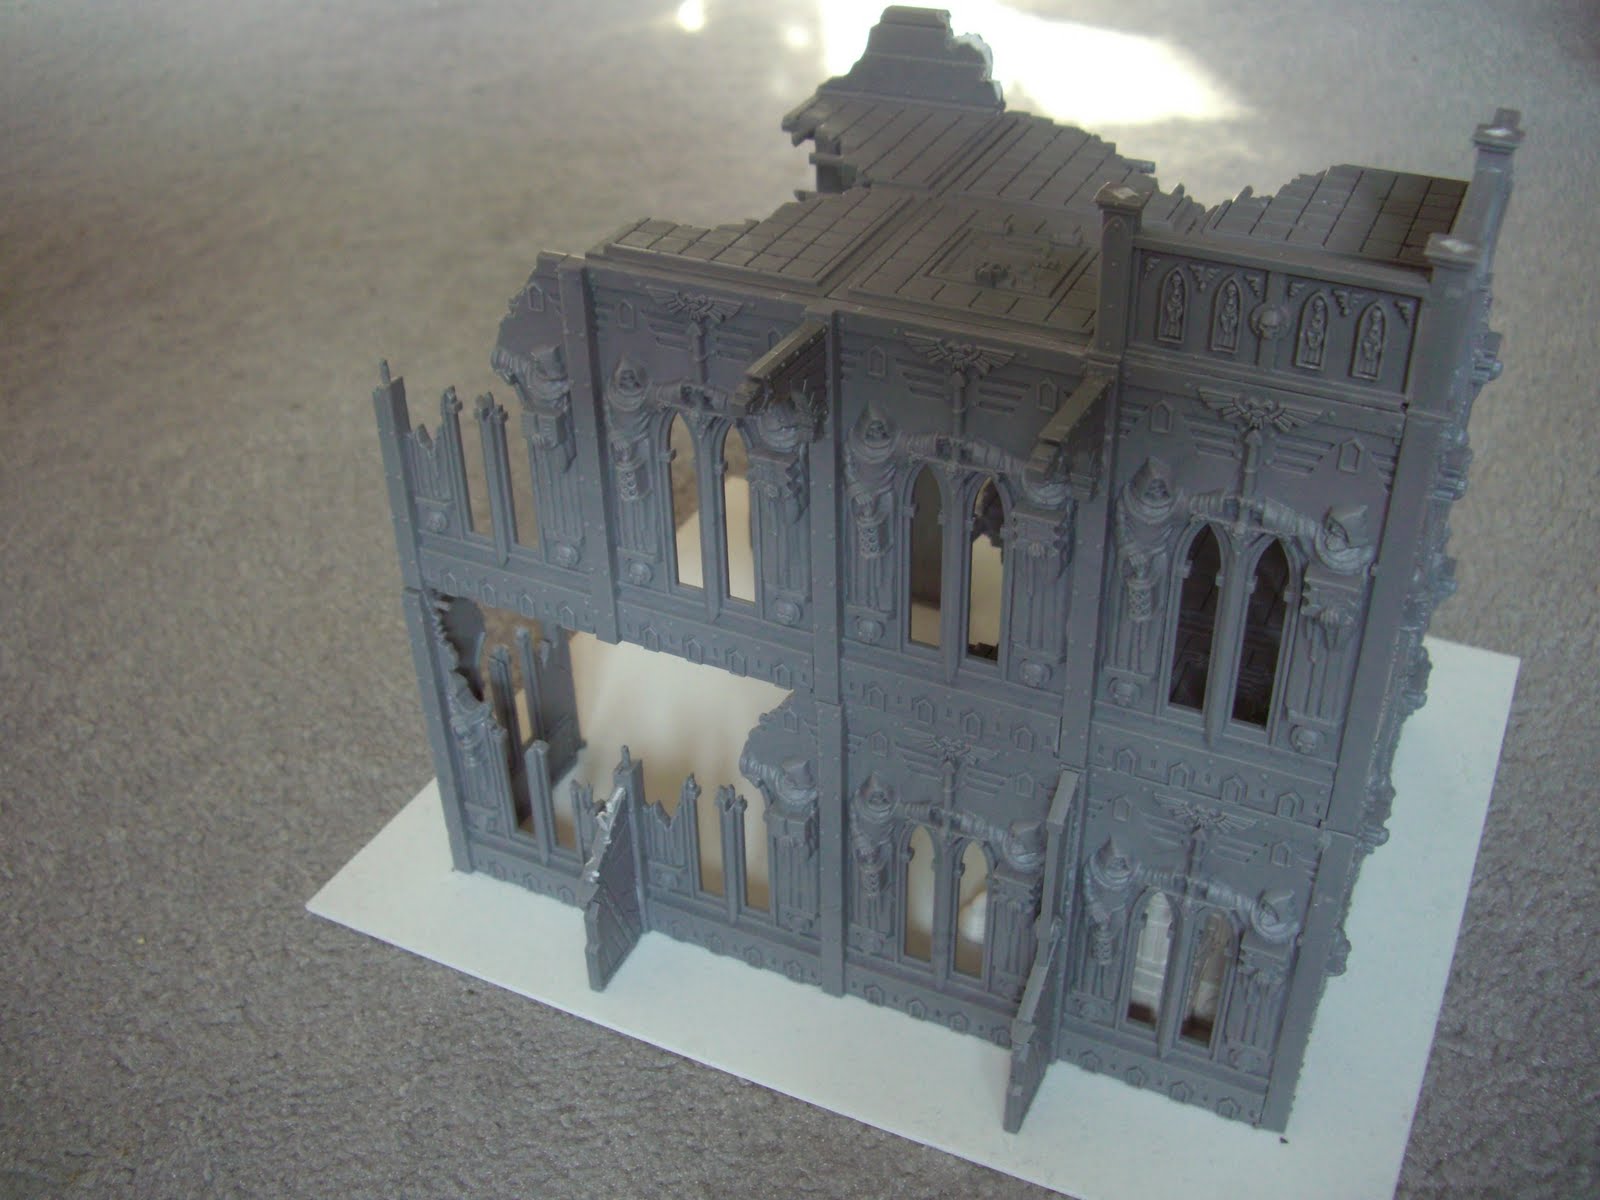
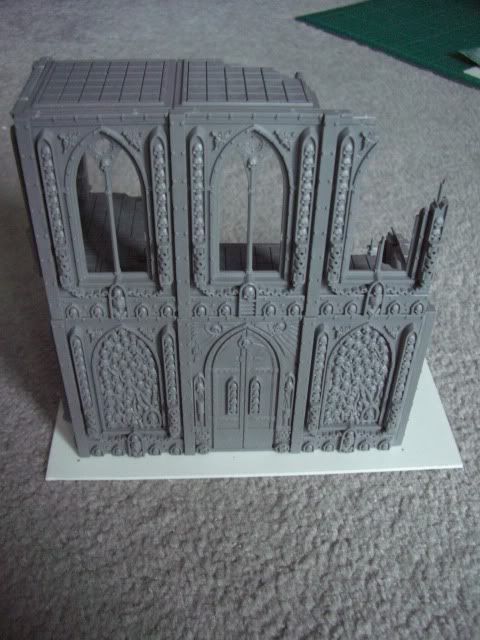
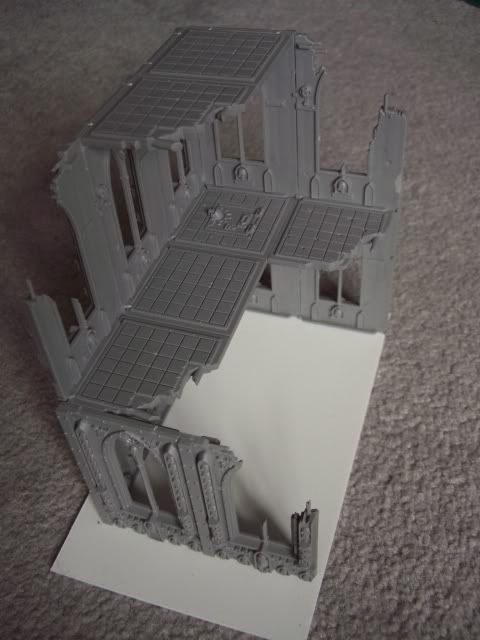
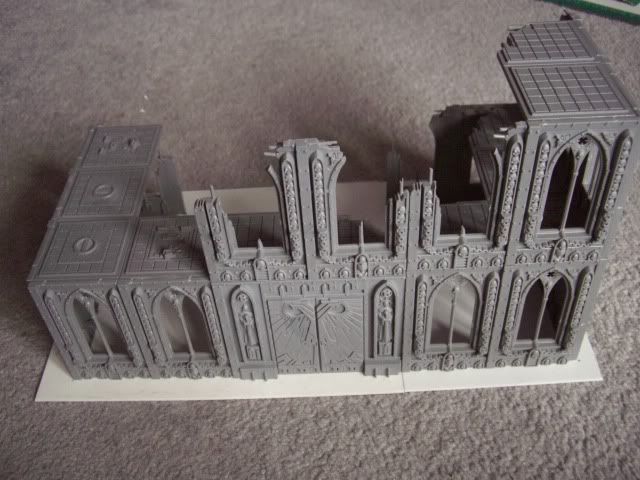
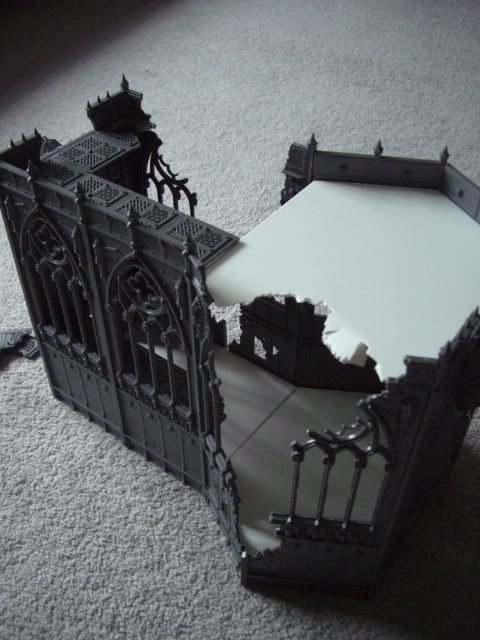
Gothic Architecture is the name of the style of architecture most often associated with buildings of the 40K universe. It is one thing to know this, but another to understand what this means. Unfortunatley, there is no quick and easy answer, not least of all because (historically) Gothic Architecture is subject to many regional variations and "sub-types", such as English Gothic Architecture. I don't want to bore you all with the history of Gothic Architecture, because if you are interested you can find out more for yourselves. It is interesting to know that the term "Gothic" was traditionally used to describe architecture which was originally considered barbaric, or rude (from the root "Goth" which were seen as a vandalistic tribe of Northern Europe). It is probbaly enough to know that prior to the "Gothic" style, was the clean, simple and geometric lines of Romanesque Architecture, and this may give you some idea why the highly decorated "Gothic" style was termed as such.
However, for our purposes it is good to start to understand some of the features associated with Gothic Architecture. This can help us to identify suitable kits to use for our buildings, and importantly can help guide us when building from scratch in order to ensure that our creations convincingly match the theme and style of our other buildings!
The Pointed Arch
Without a doubt, the most defining characteristic of Gothic Architecture is the pointed arch. Aside from its appearance, the pointed arch is structurally much more flexible than the semi circular Romanesque arch. This is because there was not the geometric restriction of a fixed radius or diameter. As such, pointed arches can be used to vault irregular shapes, and importantly junctions between different shapes too. Pointed arches also provided great structural stability (due to the angle of transferance) so that the result is that building features could be much taller.
There are many different types and styles of the pointed arch, such as the Lancet, Equitorial and Depressed arches. Though to be fair, they are probably beyond the confines of this post and the requirements of our building needs.
Height
As a direct result of the benefits of the pointed arch, Gothic buildings are often characterised by great height, and this leads to another characteristic of an emphasis for verticality. This is enhanced by the inherent features of the pointed arch, and further suggested through the use of structural and decorative elements. For instance, vertical columns will often travel from the floor up to the roof, where they may sweep around to form the ribs of the roof vault. Repetition of these details also helps to increase this emphasis.
Light
The pointed arch, used for vaulting, allows for weight to be transferred much more directly to the vertical columns. This means that less vertical structure is required in order to carry the weight, and the result is that more wall space can be given over to window openings! This can further be exagerrated through the use of external features such as flying buttresses (see below). The overall result is that Gothic buildings allow for a lot of light to be let in, much more than in the very solid buildings before.
You can see these internal features and its effects through these 360 interactive views of Notre Dame (Paris). They are definately worth a look!
Flying Buttress
A buttress is a structural element of a wall which is used to support or reinforce it. This will project from the wall in order to support against any lateral forces applied to the wall by the roof (or other structures).
Externally, this often gives the appearance of ribs, and at corners, buttresses can be used in a nnumber of different ways; Angled, Clasping, "French" or Setback. Whilst these buttresses are fully vertically attached to the building, the Flying Buttress is set away from the building, and contains a "flyer" which bridges between the main building and the buttress.
In the image above, you can see the rear of Notre Dame (Paris) with flying buttresses arounf the apse and down the length of the building. The efficiency with which a flying buttress transfers loads means that openings in the main walls can be much larger than in those that use traditional buttresses. Further increasing the emphasis of light within Gothic buildings.
Externally, the Flying Buttress is a feature most commonly associated with the Gothic style, although it should be recognised that not all gothic buildings have flying buttresses.
Ornamentation
Many people associated ostentatius decoration with the Gothic Style, and whilst this can be true in part, it is not a defining feature as Gothic Architecture can be very simple. As in the Basilica of Mary Magdalene in Saint-Maximin.
Many of the most lavish and existing examples of Gothic Architecture are religious buildings, and this is probably with good reason. The Gothic style lends itself ideally to the religious themes of light and heaven. It is also a celebration of, and testament to the people and organisations which worship within them. Though the Doges Palace in Venice is a good example of non-religious "Venetian" Gothic. You do have to say, Gothic Architecture is certainly a sight to behold!
Wednesday, 15 June 2011
Re-Education Centre Cont...
Well, Meatspace has been catching up with me recently, but work has not completely stopped. Aside from my ongoing work on my Imperial Guard I have expanded the Re-Education Centre by adding a second floor. This includes a balcony to the front. In line with my drive for "accuracy" you might think I've forgotten to provide a door out to the balcony, but the first floor doesn't extend as far as the ground floor - suggesting that the door would have been in the now ruined section. The same could be said of the stairs, and I suppose this should be taken into account when it comes to adding rubble and the like!
When adding extra parts (an entire storey in this case) it's important to keep the continuity of the story of the building. What this means is to ensure that damage flows through as you might expect. Looking at the first image below you can see the the bottom of the first floor (that's the top one because I'm not American!) has no damage, even though it sits above the quite damaged ground floor (that's the bottom one for any Americans reading!). This just wouldn't do, so I attacked the new part of the building with a pair of clippers. I think that it is this sort of minor attention to detail that is easily missed, but can make a big difference to the "believe-ability" of the buildings.
Thursday, 9 June 2011
Mechanicum Supply Stores
A nice quick stand alone terrain piece to go along with the larger buildings, these storage garages are designed to provide small scatter terrain that will fit into a variety of board themes. I started by building the intact one, with the aim of creating something that would solidly block line of sight. As such it has no windows and the doors are kept shut. The roof is removable in order that you can actually get at the inside if you wanted to. The vehicle cupola and hatch should be able to fit nicely onto the hole in the roof. It is a small, simple terrain piece but will help add some variety.
The second one came along because I saw an opportunity to use some of the parts from the Tamiya kits I was buying to adorn my Imperial Guard tanks. I was accumulating a high number of barrels, so I will be placing some of them and some Jerry Cans into it to add interest and colour. I attacked the doors with a blade and they are being kept aside to be glued in an open position. This, along with the windows have been placed with a view to maintaining the idea of preventing lines of sight being drawn through the building.
Progress on these chaps should move along quite quickly and easily!
Tuesday, 7 June 2011
Research - Functional Religious Buildings
As has been pointed out, there are often a number of functional buildings that are attached to religious buildings. These would be where members of the Ecclesiarch live, eat and sleep as well as go about their daily lives. The type, size and number of different rooms varies hugely from place to place for all manner of reasons, but for the pruposes of this it is enough to know that there are often functional rooms or buildings attached to large religious structures such as churches (and synagogues and mosques of course!)
Again, sticking with the familiar (for me) Christian church model we touched on in the previous Research on Religious Architecture lets take a look at some spaces.
Cloister
Cloisters are a necessary part of the Claustral life of monks (or nuns) as it allows them to live within the enclosure and apart from others. As such, cloisters attached to churches or cathedrals show that the building is (or was) part of a monastic foundation, acting as places for quiet meditation or study.
A cloister is an open space surrounded by an arcade of covered walk ways. The picture shows a fine example from Salisbury Cathedral (UK) where you can clearly see the series of arches. Cloisters will have access to a number of surrounding buildings or rooms, such as a dormitory (sleeping room(s)) or refectory (dining hall) etc.
Vestry
The Vestry is a small room which is part of, or attached to the main religious building. Not only is this a place where vestments are kept and donned for services, but it is also a place where records, books and vessels etc. can be kept.
Historically, the churches administrative committee (also called a vestry) would have held closed or private meetings in the same room.
A vestry is not to be confused with a Chapter House.
Chapter House
Although a Chapter House is also used to hold meetings, this is a building or room which is attached to a larger religious building such as a cathedral that also has a monastic foundation. As such it is sized so that all of the monks (or nuns) can meet inside. The image shows the chapter house of Lincoln Cathedral with its distinctive shape and notable flying buttresses.
In Summary
Other rooms or buildings in large establishments can include places such as a School, Library or Treasury. However, even after a quick look at this, you can see that a fully functioning "Imperial Shrine" or cathedral-like building, is likely to have a number of accompanying buildings associated with it. This means I'm going to need to plan some appropriate buildings!
...Thanks Annakata...
Monday, 6 June 2011
Re-Education Centre
Surely every outpost needs a Re-Education Centre. Where those with wayward thoughts or actions can be (re)schooled in the correct ways of the Imperium! Well, I thought so anyway, and got cracking on another building, still eating away at those parts in the big city boxed set, which is still posing lots of questions as to how I am going to use all of these parts! Mostly though, I just wanted to make a home for the new Brain Pump, no doubt a key piece of kit for helping those misguided individuals! As you can see, I haven't blown loads of pieces on a complicated or large plan for the building, as I want to try and make lots of buildings rather than one mega one!
I decided again that one half of the building would be mostly intact, whilst the other half would have suffered the damage, so set about the wall and floor sections with that in mind. I hadn't really thought much about what was happening on any further floors yet, so I decided to just put some balcony sections for now and work out the rest another time.
The Brain Pump fits neatly into the ground floor, perfect for fast and effecting "teaching"... no waiting.
You'll notice that the base for this building is a lot wider and this will allow me to build up rubble around the foot of the walls.
Sunday, 5 June 2011
Research - Religious Architecture
Religious architecture has historically been a catalyst for the creation of communities, places and new and innovative construction. It encompasses a huge array of architectural styles and themes because, unlike most other architecture, is fed from the beliefs, motives and religious faiths of those that worhip within them. Each place of worship will as such vary according to the particular practices and nuances of the religion in question, and we can even see that different branches of the same religion will also show variation.
It would to too exhaustive to go through a complete set of examples, but many of us will be familiar with the concept of a "traditional" christian church or cathedral. And this is as good an example as any of how beliefs and symbols are used. For instance, the structure was historically aligned in order that the congregation face eastwards - towards the rising sun, and the floor plan mimics the shape of a cross. However, both of these things are generally a result of the religious beliefs of christians, and developed a period of time.
So, lets take a little time to describe and identify the plan of a Christian church. You can see from the plan here (of Florence Cathedral, Italy) the distinctive cross shape. In this case, it is a "Latin Cross" (as opposed to a "Greek Cross") because one part is longer than the rest, this one is called the Nave. Columns (otherwise known as an Arcade) will separate the Nave from the Aisles either side of it which are usually not as tall. Where the Aisles are as tall the church is known as a Hall Church, a style more common in Germany. The Nave and Aisles lead up to the Crossing.
This forms the apex of the church, the focal point and it is usually topped with a spire, or dome. Internally this area is marked out by large columns required to bear the weight of the tall structure. The shorter arms either side of this are known as Transepts and form the symbolism of the cross. These are often dedicated to particular saints with separate chapels or dedicated to particular aspects of the life of Christ - such as the Nativity (as can be seen in the Sagrada Familia in Barcelona). The Florence Cathedral does not have a Choir behind the Crossing, instead just terminating in an Apse. This is a semi circular ending, and in this case both Transepts also terminate in Apses.
Of course, when we are making terrain in the 40K universe we have to know what symbols or features are present due to religious reasons and what exists due to necessary construction etc. For instance, we can see that other forms of religious architecture do not take up this cross shaped plan. A prime example would be the Pantheon in Rome, which has a large circular plan with a number of areas of dedication - perfect for the polytheism of ancient Rome. Once you have made this distinction, you can understand that prior to Christ, the ideas and symbols which we now recognise in Christian Churches were not developed... they came as a result of Christian beliefs, as opposed to being adopted from previous architecture.
We do know that plans of many religious buildings contain within them combinations of simple geometry. Often referred to as sacred geometry, the more complex the interaction and layering of such geometry, the more complex the overall building. Indeed, golden and geometric ratios were often employed in Greek and Roman architecture. This combination of ratios helps to give buildings such as the Florence Cathedral a sense of proportion - even though stands as the biggest building for miles! Whilst we can identify that a cross shape would not be part of a 40K ecclesiarchal building, other structural elements such as the Nave and Aisles can be quite at home, as can a number of chapels, each dedicated to different saints. This is because we know that although worship is centred on the Emperor, we also know that there are a number of saints which may also be revered!
Using information such as this we can not only be guided as to how a shrine or church might look in the 40K universe, but also get some understanding of what might be inside of it. For me, this is important in order to help create a believable piece of terrain. Anyway, I'm sure that this is quite enough jabbering from me.
If you are still interested, and I doubt by now you are, then some further and more detailed information can be found by reading here and other plans of churches can be found here.
Saturday, 4 June 2011
Review - Dungeon Casting Brain Pump
Over the week I received a well taped package, my brain pump had arrived! Not to be confused with other pumps on the market, this had come from Dungeon Casting and was bought through their ebay store.
I opened the box, to find another box! Holy Crap! look how many pieces there are!? Along with it were 2 A4 sheets of instructions too, though the questionable quality of the printing was matched only by my inability to match the 70 odd parts to their assigned code! I decided that this was futile, and proceeded straight onto the first diagram - which, to be fair was the first in a series of quite easy to follow pictures.
You may lambast me for actually following instructions, but an hour or so later and I had finished the pump, with some minor artistic deviation to suit myself of course.
Dungeon Casting produce all their stuff by casting Herculite into moulds. Basically, this stuff is plaster and the pieces went together surprisingly easily using a tub of GW super glue. Most of the parts were pretty well cast though there were a fair amount of air bubbles. These would be easy enough to fill, but I decided that the bubbles and defects would fit well when this thing was put into a part ruined building.
Overall, I'm quite happy with the result, the kit is quite easy to build, the material is easy to work with and the scaling seems just right.
You can view more of their stuff at www.dungeoncastings.co.uk and be sure to check out their ebay store.
Friday, 3 June 2011
Governors Palace
With gay abandon I set about gluing together bits from the cities of death mega city boxed set! Really, I just wanted to get a feel for the different parts and how they went together and only after a bit of fiddling (with the models) did I start to formulate what the building I was making was actually going to be (or at least what it used to be). Granted this is really the backward way of doing things because if you know what a buildings use is, then you can be guided to how it looks, how wide or tall it might be and of course what needs to go inside it! As it was, this thing started life as a simle two storey ruin.
Here is the back of the thing, showing a pretty basic layout. whilst fun to build, this wasn't looking like anything particularly special, and it wasn't until I started on my second building that it really hit me - the two things should get put together into one much larger building! Every Planetary Governor needs a palace to govern from... and this was going to be just that! The best bit is that because it is made up to two separate parts (importatnly on separate bases) then I can use the buildings as two smaller ruins as opposed to one large one!
From a practical point of view the large open ground floor area should let lots of models fight over the building. Whilst the fact that the building is not complete at the rear could suggest severe damage, or further parts to the combined palace. Of course, it also helps to make the buildings more usable when they are used in two parts.
You will see that I am using plasticard for the bases of my buildings. This gives them something solid to stick on to but does not give me a tall lip as you often get with MDF basses... this should help the buildings blend into the board a lot better.
Thursday, 2 June 2011
Imperial Shrine
Well, I suppose this is as good a time as any to get you guys hooked by showing you initial work on the first building:
Despite the big box of buildings sitting waiting for me, I went out and bought a pair of "Shrine of the Aquila" sets. These look really good, and a pair of them would be able to go together to make a VERY impressive church like building. It should be noted that because the walls are such large sections I found that a few were slightly bent, but nothing that a little bit of careful handy work couldn't fix! Overall, the Shrine box set are actually pretty reasonably priced and look like they have a fair amount of flexibility in their construction. Definately a worth while addition.
With this in mind, I wanted to step away from the square look, in fact, I wanted to create a largely intact Shrine to fight over so after a bit of thinking I came up with a simple floor plan design to make the most of all of the parts. I measured up and cut out two template shapes to help construct the building more interestingly. One for the floor, and one for the roof.
Here you can see the bulk of the Shrine. The large central space will hopefully house some sort of important looking artifact, relic or statue. I'm not sure what at the moment, maybe someone has some good ideas!?!
In any case, the keen eyed among you will notice that this doesn't even use a whole boxed set! You can see that even like this it would be possible to create interesting, half destroyed, shrines even if you were using only one boxed set. So, in any case you're probably wondering what happened to the rest of it!
Well here it is... This will form the front portion of the Imperial Shrine, equivalent to the main area of most modern day churches (the Nave). The front part of the Shrine will give the overall feel of a traditional church like structure - with a long approach to the main area. It also lets me put in a middle floor which will help mix things up a bit when it comes to gaming.
When the two halves are placed next to one another you get the echo of a modern day church, but importantly without the Christian style cross plan layout - as this is something which would have no reason in the 40k Universe! However, the roof was clearly in too good a shape, so I went at it with a pair of clippers, snipping and twisting to get a random effect. All of the snippings were saved for later use, even small parts went into a pile which can later be ransacked for rubble. The two collapsed sections will help you get your arm in to move models about. The two sections aren't glued toegether yet, I think I won't do that until I've painted them. There's a fair bit of work to do until then though!
Of course, there is still a lot to do on this piece of terrain, and they include:
+ Add more detailing to the roof sections - as these will form a big part of the gamers view.
+ Include something to worship! Maybe the big Space Marine statue from the GW set... maybe someone can give some other ideas!? as well as some additional internal details (someone has already mentioned adding pews scattered in the nave!)
+ I also need to add some of the external details, such as the steps, and probably some buttresses etc.
+ Then of course I will need to worry about adding rubble and painting, but these will all be done at a later stage anyway.
So it begins...
Hi everyone, it has been a while since I last started work on a NEW project. Unusual for me, as I do have a tendency to start lots of things and never get anything finished! Still, it's time for a new piece of pie to work on, and seeing as a friend of mine has given me (sold) his gaming board I need to make some terrain to fill it!
Here is the gaming board set up ready and waiting!
As luck would have it, I pulled out the virtually untouched "Imperial City" boxed set from under a bed. (Don't ask why I have this nearly completely on sprue mega boxed set sitting gathering dust - but lets just say it was a relic of another project which got left by the roadside!) So, I will be making a whole host of Imperial City terrain pieces for the new board!
So, before I even began building and putting things together I decided to spend some time doing some online research. Looking at a myriad of images and articles is very inspiring, and if anyone has any links to sources then it might be nice to see them. If I get enough then I suppose I'll add them to a big list and post them here too. Doing the research helped me see what I like, but more importantly, what I don't like and it started me thinking about how I can use the GW scenery parts.
The Design Principles
+ Create a range of scatter terrain pieces that can be placed onto a flat board.
+ Create great looking terrain that is varied, interesting and most importantly 'believable' (though also cohesive enough to work together)
+ Create terrain which has functionality for use in games.
+ Create a range of different buildings, large and small; including ruins, intact buildings and everything in between.
+ Use GW terrain as a starting point, and augment it with other details and scratch built elements.
+ Avoid using thick MDF bases, so that the terrain can appear integrated with the board.
+ Avoid large flat terrain bases - We've all seen ruins on open ground before, and it doesn't look great!
+ Avoid creating overly fragile terrain / parts as they will have to survive storage etc.
Subscribe to:
Posts (Atom)